In this guide
- What changes on November 1, 2026
- Who can shop tax-free
- Step 1: At the store
- The rules that decide whether you get your money back
- Step 2: Packing tax-free goods
- Step 3: At the airport, before check-in
- Step 4: Getting the refund
- Worked examples: how much you actually save
- Twelve mistakes that cost travelers their refund
- Special cases
- Where tax-free shopping is worth it
- How to read a Japanese receipt
- Sample tax-free shopping days in Tokyo and Osaka
- If you shopped tax-free before: what to unlearn
- Useful Japanese phrases at the tax-free counter
- Your tax-free checklist, day by day
- FAQ
What changes on November 1, 2026
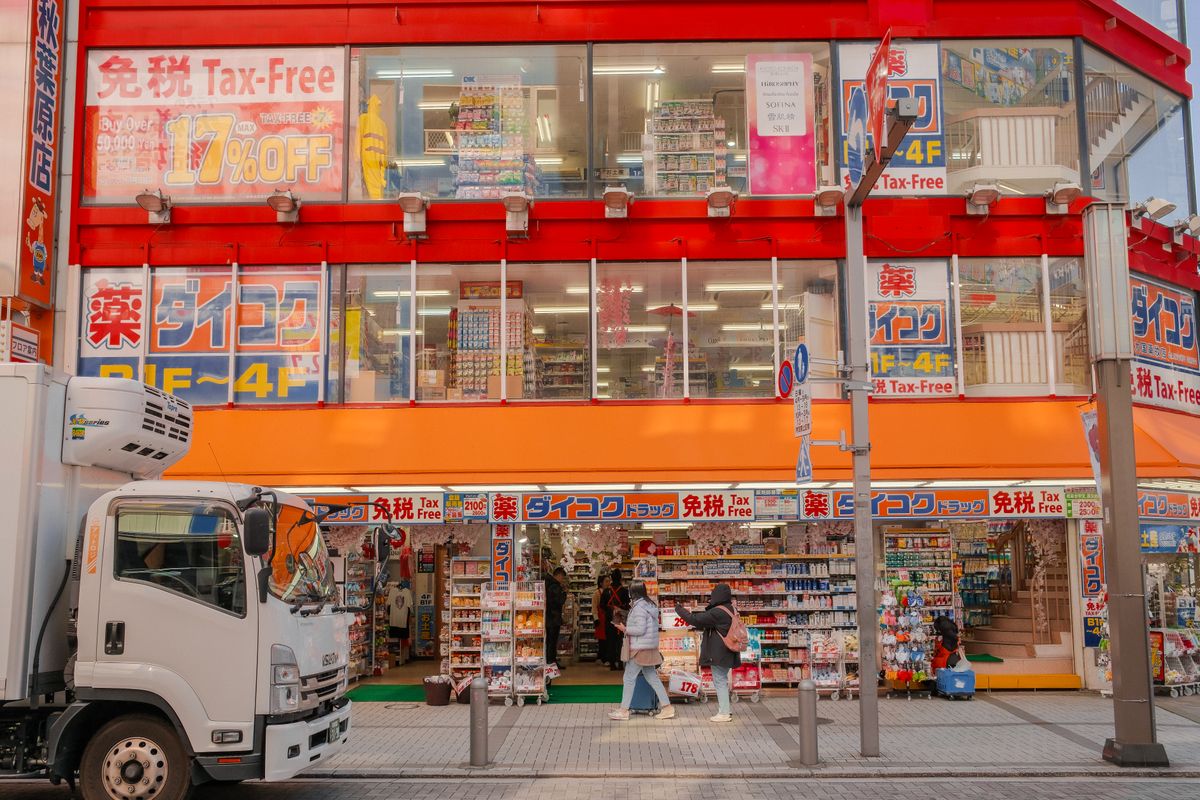
For years, tax-free shopping in Japan happened at the counter. You showed your passport, the shop knocked the consumption tax off the price, and you walked out paying less. Consumable items such as cosmetics, snacks and medicine went into a sealed bag that you were not supposed to open until you left the country.
That system covers purchases made up to October 31, 2026. For anything you buy from November 1, 2026, Japan uses a refund system instead. There is no overlap period: what matters is the date on your receipt.
Here is the short version of what is different for you as a shopper:
| Old system (until Oct 31, 2026) | New system (from Nov 1, 2026) | |
|---|---|---|
| Price you pay at the shop | Price without consumption tax | Full price including consumption tax |
| When you get the tax back | Immediately, at the counter | After customs confirms your goods at departure |
| What you do at the airport | Hand in or scan your record at customs | Have goods checked at a customs tax-free kiosk before you check your bags |
| Sealed bags for consumables | Required | Abolished |
| General vs. consumable categories | Separate rules and limits | Merged into one category |
| Upper limit for consumables | ¥500,000 | Abolished |
| Minimum spend | ¥5,000 per store per day | ¥5,000 (before tax) per store per day |
| Deadline to leave Japan | Within six months of entering Japan | Within 90 days of the purchase date |
Why the change? Under the old system, a share of “tax-free” goods never left Japan. Some were resold inside the country, and the tax was simply lost. Under the refund system, the tax is only returned once customs has confirmed the goods are actually leaving with you. For honest travelers, the main differences are that you need a little more cash flow on the day you shop, and you need to plan your airport routine so your purchases are in your hands when you reach the kiosk.
The good news: some of the old annoyances go away. You no longer have to keep cosmetics and snacks in a sealed bag, the confusing split between “general goods” and “consumables” is gone, and so is the upper limit on consumables.
Who can shop tax-free
Tax-free shopping is meant for visitors: people who come to Japan for a short stay, typically as tourists, and take their purchases home. In practice that means:
- You are staying in Japan short-term (for example on a tourist visa or visa-free entry). If you are not sure whether your country needs a visa, check our Japan visa requirements guide.
- You carry your actual passport, not a photo or a photocopy. The tax-free record is tied to the passport you show at the store.
- You will leave Japan within 90 days of the purchase date, taking the goods with you.
People who live and work in Japan on a residence status are not eligible. If you are unsure about your own situation, ask at the store’s tax-free counter before you pay: staff check your passport and landing permission as part of the process.
One practical point for families and groups: because each tax-free record is linked to the passport shown at the counter, the person whose passport was used should be the one carrying those goods through the customs kiosk. If you split a big shopping trip between two people, keep each person’s receipts and goods together.
Step 1: At the store
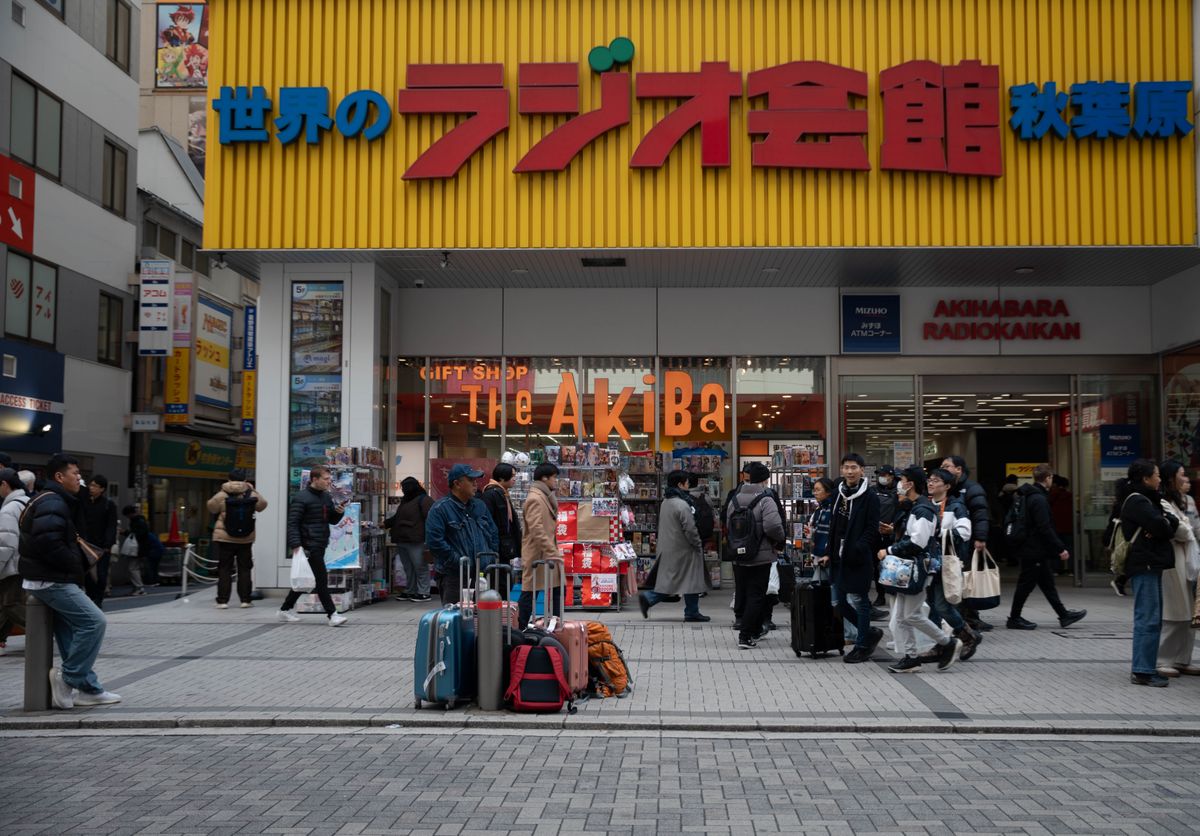
The routine at the shop is simple once you have done it once. Expect it to add a few minutes at the till, a bit longer at busy department stores.
- Shop as normal, then go to the tax-free counter or tell the cashier. Larger stores often have a dedicated tax-free counter (look for 免税 / Tax-Free signs). Smaller shops handle it at the regular register.
- Show your passport. Staff scan or check it to create the tax-free record. Have it ready; a passport left at the hotel means no tax-free purchase.
- Pay the full price, including tax. This is the big change. Your card or cash payment is for the full amount on the price tag (Japanese price tags show the tax-inclusive price, sometimes next to a smaller pre-tax figure).
- Register how you want to receive the refund. The shop explains which refund methods it offers. Depending on the shop, that may be a refund to your credit card, a bank transfer, an app, or cash at the departure port. Methods differ from shop to shop, so ask before you pay if you have a preference.
- Keep the receipt and any tax-free documents together. Put them in one envelope or a zipped pocket. You will need to match them to your goods at the airport.
Paying with a credit card makes life easier, because many refunds go back to a card and your statement gives you a clear record of what you paid. If you are deciding between cash and cards for your trip, our cash vs. card guide explains where each works best.
Ask two questions at the counter, especially at your first tax-free purchase: How will the refund be paid? and Is any fee deducted from the refund? The government sets the rules for confirming exports, but the refund itself is handled by the shop or a refund company it works with, so the details are set by each shop.
The rules that decide whether you get your money back
Most refund problems come from a handful of rules. Learn these before you start shopping.
The ¥5,000 minimum (before tax), per store, per day
Your purchases must add up to at least ¥5,000 excluding tax at one store on one day. With 10% consumption tax, that is ¥5,500 on a tax-inclusive price tag. Two receipts from the same store on the same day can usually be combined at the tax-free counter; purchases from different stores cannot be added together, and neither can purchases from the same store on different days.
Some department stores and shopping malls run one central tax-free counter for many shops in the building. Whether purchases from different shops in the same building can be combined depends on how the building is set up, so ask at the counter rather than assuming.
Goods must leave Japan with you, unused
Tax-free goods must be exported. Anything you eat, drink, open or use in Japan is not eligible for a refund. If you buy skincare and start using it in your hotel, that item no longer qualifies. Snacks bought tax-free should stay unopened until you are home.
Every item on a receipt must be with you
Customs confirms purchases receipt by receipt. If even one item from a receipt is missing at the kiosk, every item on that receipt can lose its refund. This is the rule that catches people who give away a gift before they fly, or who pack one item in a checked bag by mistake.
You must leave within 90 days of buying
The clock starts the day after the purchase date. If you buy something on November 1, the last day to leave Japan with it is January 30. For most visitors on a two-week trip this never matters, but it does matter for long stays.
You can buy only what you can carry out yourself
Tax-free goods are for you to take out of Japan in person. Sending tax-free purchases home yourself by post or courier (the old “separate shipment” option) was abolished on March 31, 2025. If a shop offers to ship your purchase directly overseas from the store, that is a different arrangement handled by the shop.
Very expensive items may need paperwork
For a single item worth ¥1,000,000 or more (before tax), customs may ask for an appraisal certificate or warranty card. If you are buying a luxury watch, jewelry or a high-end camera, keep the paperwork that came with it in your hand luggage.
Step 2: Packing tax-free goods
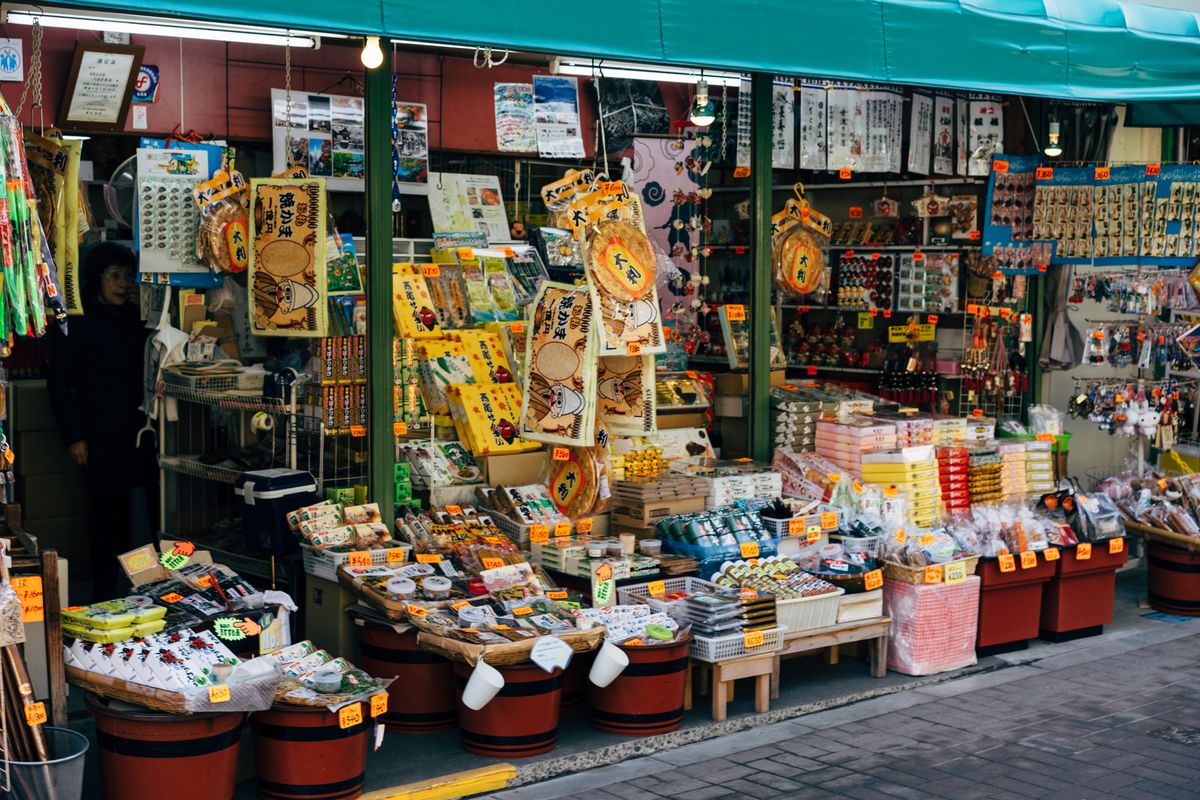
Packing is where the new system asks the most of you. The customs check happens before you check your luggage, and you must have every item from each receipt with you at that moment. Once a suitcase has gone onto the belt, you cannot get things back out for the check.
A simple system that works:
- Pack tax-free goods in one bag. A foldable duffel or a large tote is perfect. Put all tax-free purchases in it, with the receipts in a clear plastic sleeve on top.
- Keep the original packaging and tags. It makes it easy for customs to match goods to receipts.
- Do not mix tax-free goods with things you bought at full price if you can avoid it. It speeds up any inspection.
- Do the kiosk first, then repack. After customs has confirmed your goods, you can move items into your suitcase and check it in as normal.
- Mind airline rules. Liquids, aerosols and some batteries have carry-on limits on flights. Since you pass the customs kiosk before check-in, you can still put liquids into your checked bag afterwards. Ask airline staff if you are unsure about a specific item.
If your Japan packing list is still a work in progress, our Japan packing list includes a foldable bag for exactly this reason.
Step 3: At the airport, before check-in
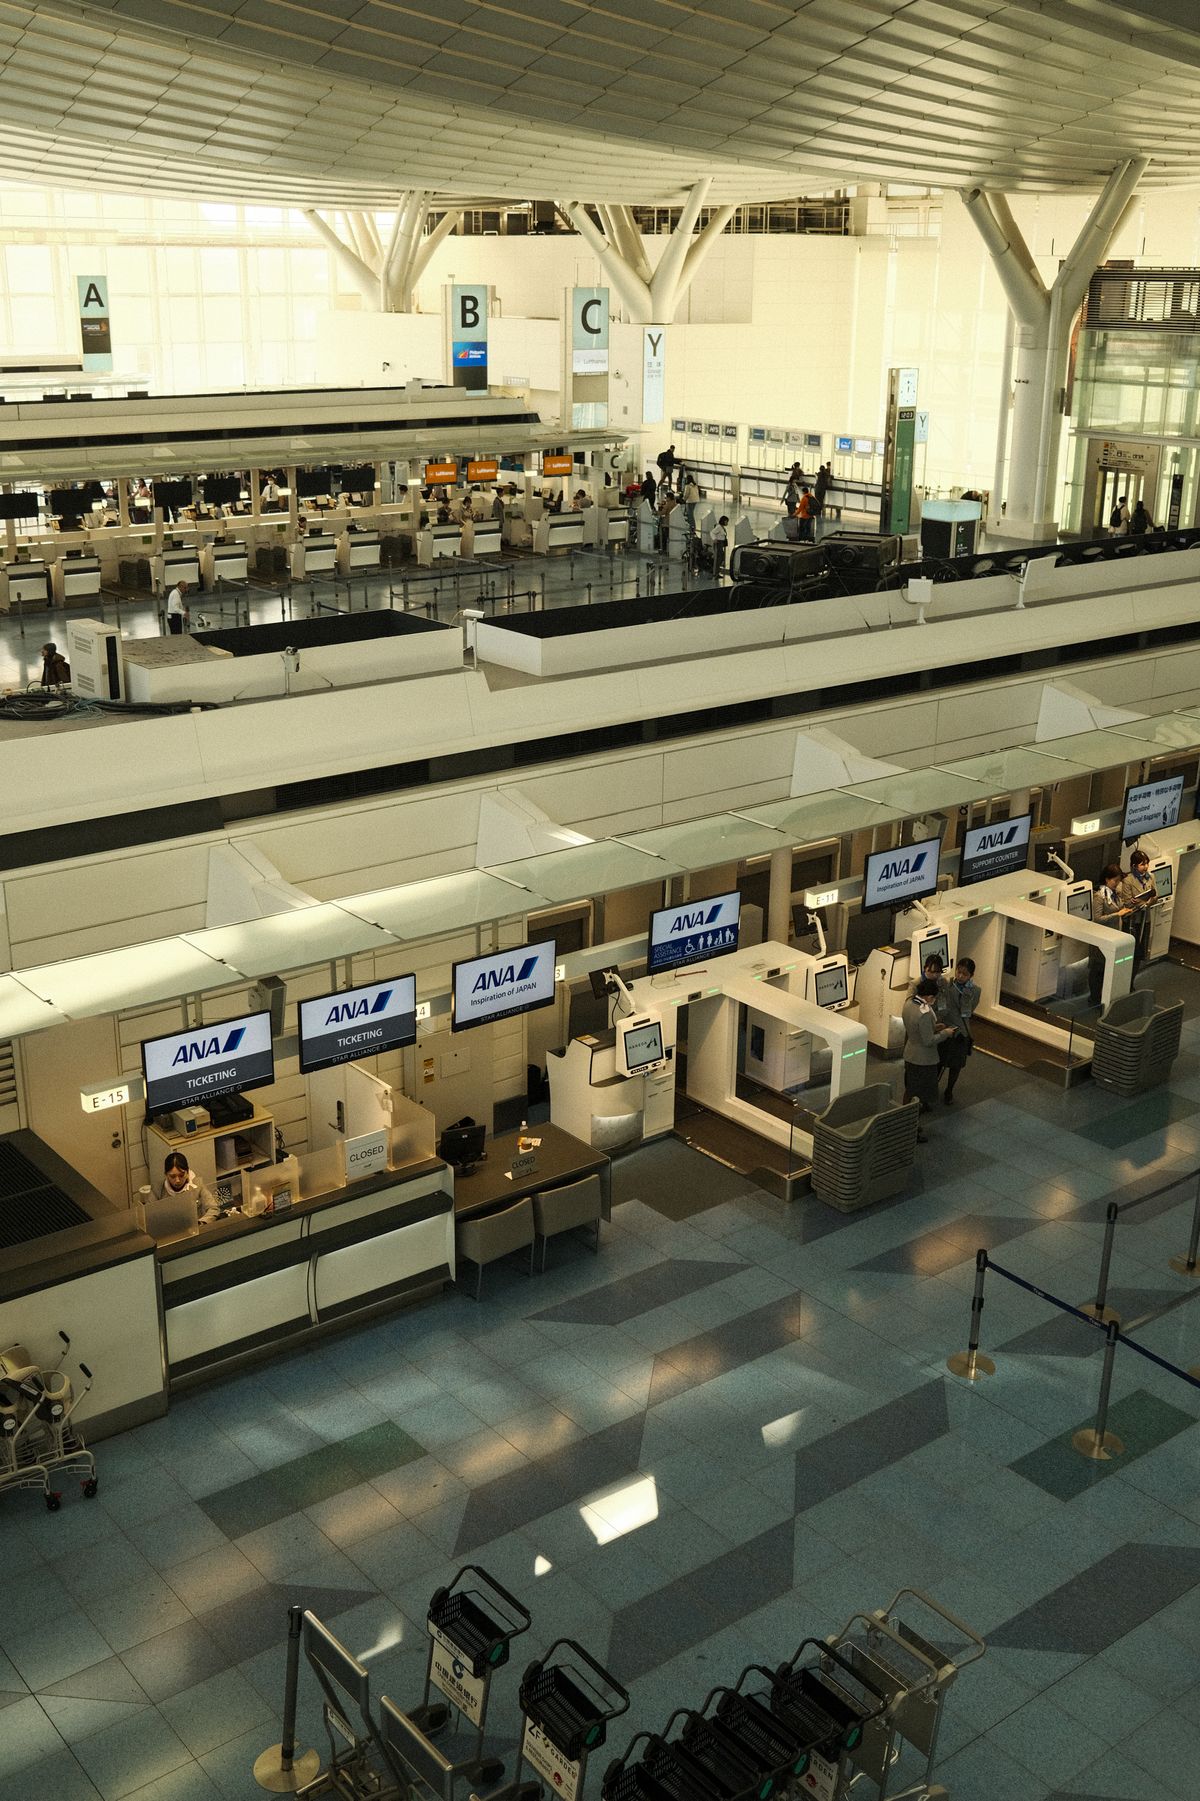
This is the new part of your departure day. The order matters:
- Arrive with your tax-free bag and your receipts in hand.
- Find a customs tax-free kiosk in the departure area. These terminals are placed in the departure lobby, before security and before you check your bags. Follow the Tax-Free or customs signs, or ask any information desk.
- Scan your passport at the kiosk. The kiosk calls up the tax-free records registered to your passport.
- Check the result. If the screen shows green, the confirmation is complete. If it shows red, take your goods and receipts to the customs officers nearby for an inspection.
- Now check in and drop your bags, then continue through security and passport control as usual.
At seven major airports, Narita, Haneda, Kansai, Chubu (Nagoya), Fukuoka, New Chitose (Sapporo) and Naha (Okinawa), you can also use Visit Japan Web for the tax-free procedure. If you already use Visit Japan Web for arrival, it is worth checking the tax-free section before your departure day.
How much extra time to allow
Japan has not published an official waiting time, and the first weeks of a new system can be busy. A sensible plan is to add 30 extra minutes to your usual airport arrival time if you have tax-free goods, and more if you are flying during a holiday rush. You still need to finish the kiosk before you check in, so do not arrive at the last minute and hope to skip it.
Getting to the airport
If you are heading to Narita or Haneda from central Tokyo, our airport access guide compares trains and buses in both directions. Leaving from Kansai Airport after time in Kyoto or Osaka? Build in the same buffer.
A data connection helps at the airport, especially if you are using Visit Japan Web or a refund app. If you have not sorted that out yet, a Japan travel eSIM is the easiest option; our eSIM comparison explains how to choose data and days.
Step 4: Getting the refund
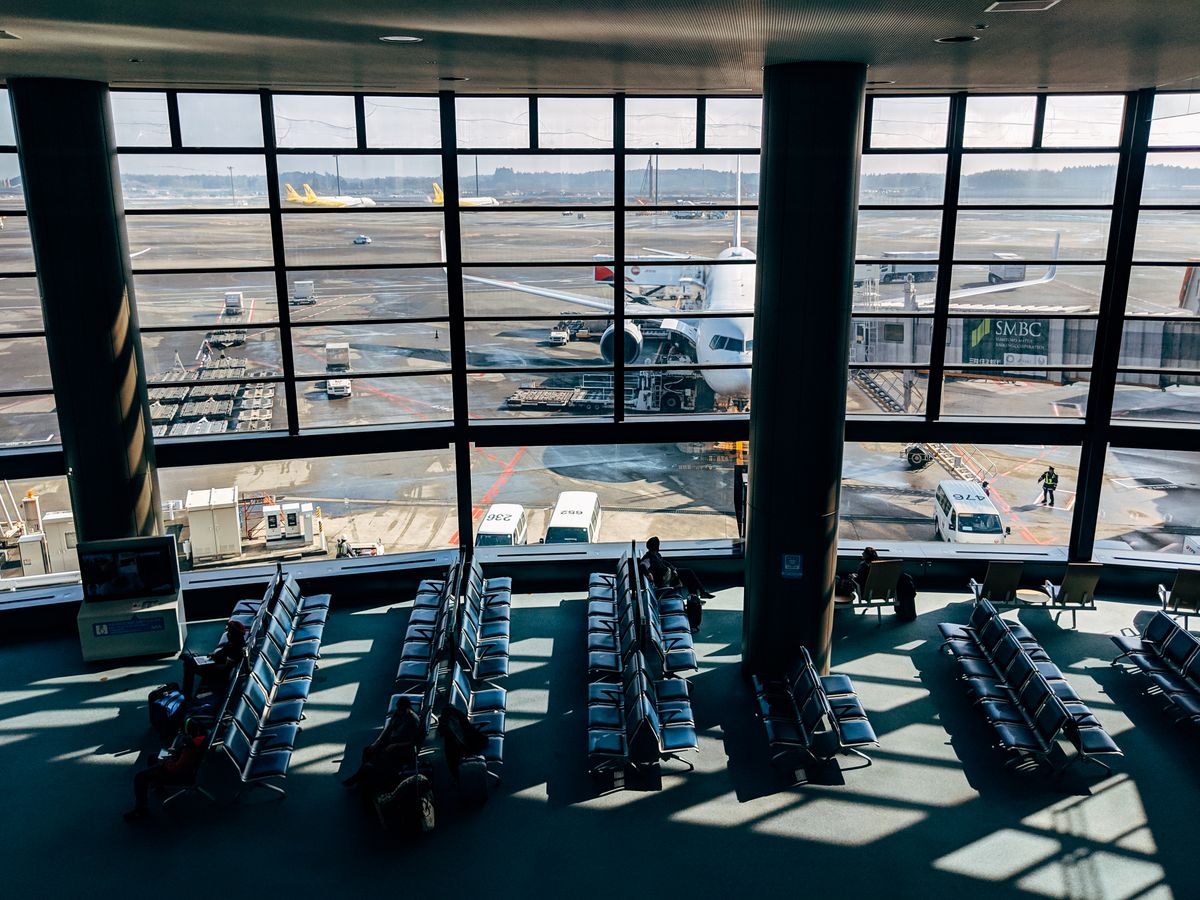
After the customs confirmation, the refund is paid by the shop or the refund company it works with, using the method you registered at the store. Examples include:
- A refund to the credit card you paid with
- A bank transfer
- A payment through an app
- Cash at the departure port
Which of these you can use depends on the shop. The timing also depends on the shop and the method: Japan’s official guidance does not set a single deadline for when refunds must be paid. That is why it pays to ask at the counter and to keep your records.
Keep the following until the money has arrived:
- Your receipts and any tax-free documents from the shop
- A photo of the kiosk screen showing the green result, if you can take one
- Your card statement showing the original payment
- The shop’s contact details or the refund company’s website
If a refund does not arrive, contact the shop or its refund agent first. They are the ones who pay the refund. Having the receipt, the purchase date, the store name and your passport number ready will speed things up.
Worked examples: how much you actually save
Japan’s standard consumption tax is 10%, and most food and drink sold to take away is taxed at a reduced 8%. The refund is the tax you paid, minus any fee the shop or refund agent deducts. Here is what that looks like in practice.
Example 1: A camera in Akihabara
Price before tax: ¥120,000. Tax at 10%: ¥12,000. You pay ¥132,000 at the shop. After the customs kiosk confirms the camera at the airport, the tax of up to ¥12,000 is refunded. At an exchange rate of about ¥158 to the US dollar (October 2026), that is roughly US$76 back, worth a few minutes at the counter and the kiosk.
Example 2: A drugstore haul
Skincare, sunscreen and cold medicine: ¥7,800 before tax, ¥8,580 with tax. That clears the ¥5,000 minimum, so you can ask for tax-free processing. The tax portion is ¥780 (about US$5). Worth doing if the store’s counter is quick and you are already going to the airport kiosk for something else; less worth it if you would queue for 20 minutes. Remember: none of it can be opened or used in Japan.
Example 3: Two small shops that do not qualify
You spend ¥3,000 before tax at a ceramics shop in Kyoto and ¥3,500 before tax at a tea shop next door. Together that is ¥6,500, but the minimum applies per store, so neither purchase qualifies. If tax-free matters to you, concentrate bigger purchases in one store on one day.
Example 4: Snacks you end up eating
You buy ¥6,000 (before tax) of Kit Kats and rice crackers tax-free on day three, then open a box on the train to Hiroshima. The opened box is no longer eligible, and because customs checks receipt by receipt, the missing item can put the whole receipt at risk. For food you plan to eat during the trip, simply pay the normal price and do not ask for tax-free processing.
Quick reference: the most you can get back
For goods taxed at the standard 10% rate, the maximum refund is 10% of the pre-tax price. Any fee charged by the shop or refund agent comes off these amounts. Dollar figures use about ¥158 to US$1 (October 2026) and are rounded.
| Pre-tax price | You pay at the shop (incl. 10% tax) | Maximum refund | About (US$) |
|---|---|---|---|
| ¥10,000 | ¥11,000 | ¥1,000 | $6 |
| ¥30,000 | ¥33,000 | ¥3,000 | $19 |
| ¥50,000 | ¥55,000 | ¥5,000 | $32 |
| ¥100,000 | ¥110,000 | ¥10,000 | $63 |
| ¥200,000 | ¥220,000 | ¥20,000 | $127 |
Is it worth it?
As a rule of thumb, tax-free processing is clearly worth it on single purchases of a few tens of thousands of yen or more: electronics, cameras, watches, designer goods, kitchen knives, high-end skincare. For small purchases, it comes down to how much time the counter takes and whether you are happy to carry the goods unopened to the airport.
Twelve mistakes that cost travelers their refund
- Checking a bag before visiting the kiosk. The customs check must happen first, with the goods in your hands.
- Packing one item from a receipt in a checked bag. One missing item can affect every item on that receipt.
- Using or eating tax-free goods in Japan. Anything used or consumed in Japan is not eligible.
- Giving tax-free purchases away as gifts in Japan. If they do not leave Japan with you, they do not qualify.
- Adding up purchases from different stores to reach ¥5,000. The minimum is per store, per day.
- Forgetting the passport at the hotel. No passport at the counter means no tax-free record.
- Losing receipts. Keep them in one place, with the goods.
- Arriving at the airport late. If you skip the kiosk to make your flight, you lose the refund.
- Staying more than 90 days after a purchase. Long-stay visitors should track the dates.
- Posting purchases home yourself. Self-shipping tax-free goods is no longer allowed.
- Not asking how the refund is paid. Methods and timing vary by shop.
- Assuming the old rules still apply. Advice written for the old system (including sealed-bag instructions) does not apply to purchases from November 1, 2026.
Special cases
Forwarding your luggage to the airport
Many travelers send suitcases ahead to the airport by courier so they can enjoy the last day hands-free. You can still do that, but think about where your tax-free goods are. The simplest approach: keep tax-free goods in a carry bag you take with you, and send only clothes and non-tax-free items ahead. If tax-free goods must travel in the forwarded suitcase, collect the suitcase at the airport delivery counter first and take it to the kiosk before you check it in. Our luggage forwarding guide explains how the service and airport pickup work.
Leaving Japan by ferry or cruise ship
The same principle applies at seaports: your goods must be confirmed by customs when you leave. Facilities at ports differ, so ask the ferry or cruise company, or the customs office at the port, how the tax-free confirmation works there.
Leaving from a smaller regional airport
Visit Japan Web’s tax-free function is available at the seven major airports listed above. At other international airports, look for the customs kiosk or ask customs staff in the departure area, and allow extra time.
Transferring through another Japanese airport
If you fly domestically to a hub such as Haneda or Narita and then leave Japan on an international flight, the confirmation happens where you leave the country. Plan your packing so that tax-free goods are not checked through on the domestic leg; ask your airline how your bags will be handled.
Shops that ship overseas for you
Some stores, for example for furniture, large kitchenware or art, offer to ship directly to your home country. That is a different arrangement from tax-free shopping by carrying goods out. Ask the store how tax is handled for direct shipping.
Long stays and repeat visits
The 90-day clock runs from each purchase date. If you are in Japan for several months, keep receipts in date order and make bigger purchases nearer to your departure.
Where tax-free shopping is worth it
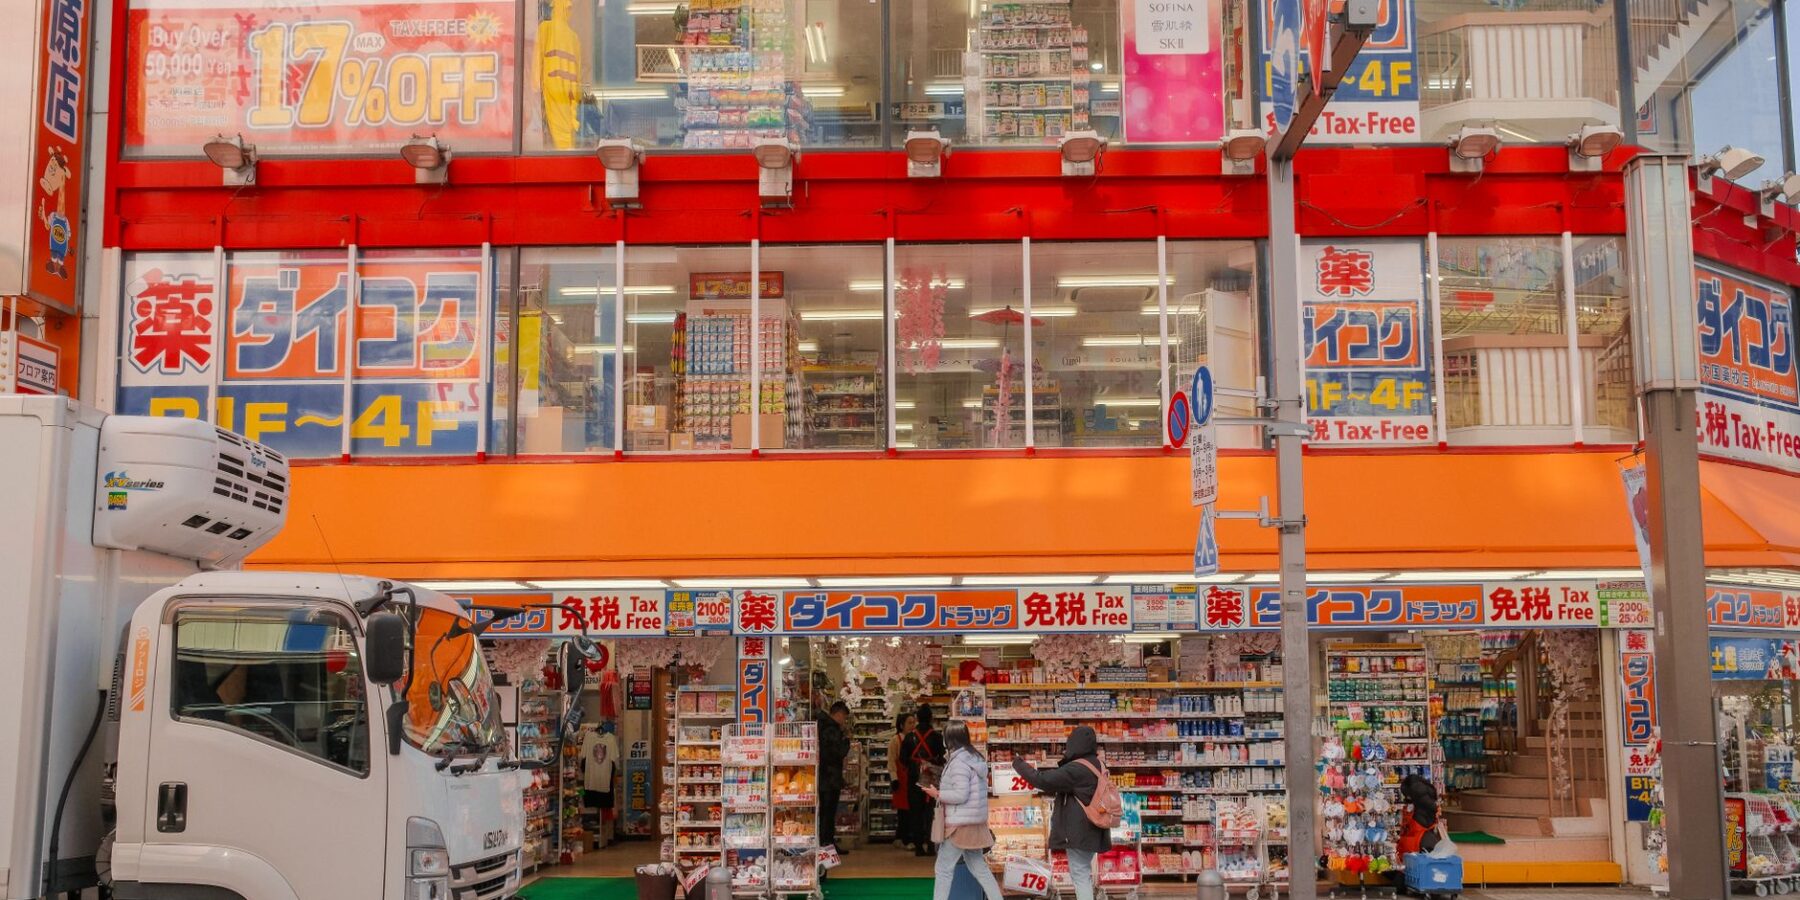
Tax-free shopping is available at a wide range of stores, from department stores to drugstores. Look for the 免税 / Tax-Free logo on the door or at the register. These are the places where visitors most often use it:
- Electronics and camera stores. Big-ticket items mean big refunds. Check that chargers, plugs and warranties work in your home country before you buy.
- Department stores. Designer goods, cosmetics, kimono and homeware. Many have a central tax-free counter.
- Drugstores and discount stores. Skincare, sunscreen and over-the-counter medicine. Remember the “do not use in Japan” rule.
- Kitchen knives and craft goods. Knife shops in Tokyo, Osaka and Sakai are popular; ask how to pack knives for your flight (they cannot go in carry-on luggage).
- Outlet malls. Often have their own tax-free counters for the whole mall. Ask whether purchases from different shops can be combined there.
Not sure what to buy or how to deal with shop staff when you do not speak Japanese? Our guide to shopping in Japan with zero Japanese covers sizes, payments and polite phrases.
How to read a Japanese receipt
Because the refund system depends on receipts, it helps to know what you are looking at. Japanese receipts follow a fairly standard layout:
- 税込 (zeikomi) means “tax included”. Most price tags and receipt totals show this figure, which is what you pay.
- 税抜 (zeinuki) or 本体価格 (hontai kakaku) means “before tax”. This is the figure used for the ¥5,000 minimum.
- 消費税 (shōhizei) is the consumption tax line. Receipts usually split it into a 10% amount and an 8% amount.
- Items marked with ※ or 軽 are taxed at the reduced 8% rate (most food and non-alcoholic drinks). The receipt footer explains the mark.
- 免税 (menzei) on a receipt or attached slip shows the purchase was registered as tax-free.
Quick check after every tax-free purchase: does the receipt show the store name, the date, and a pre-tax total of at least ¥5,000? If not, ask at the counter before you leave the shop. It is much easier to fix there than at the airport.
If a receipt is entirely in Japanese, point your phone’s camera translator at it. Our translation app comparison covers which apps read receipts and labels best.
Sample tax-free shopping days in Tokyo and Osaka
The “one store, one day” rule rewards a little planning. Rather than buying a few things in every shop you pass, group your bigger purchases. Here are two sample days built around that idea.
Tokyo: Ginza, Akihabara and Shinjuku
Morning, Ginza. Ginza’s department stores are the easiest place in Japan to shop tax-free: big tax-free counters, English-speaking staff, and everything from cosmetics to kitchenware under one roof. Do your cosmetics and gift shopping in one department store and finish at its tax-free counter, so the purchases add up toward the minimum on one receipt.
Afternoon, Akihabara. Electronics and camera stores here are used to visitors. Compare prices before you commit, check plug types and voltage, and ask whether the warranty is valid outside Japan. A single camera or lens usually clears the minimum by itself.
Evening, Shinjuku. Drugstores stay open late and many handle tax-free at the register. Only buy tax-free what you will take home unopened; pay normally for anything you want to use during the trip, such as sunscreen.
Back at the hotel. Put everything bought tax-free, with receipts, into your tax-free bag. Doing this every night saves a frantic sort on the last day.
Osaka: Umeda and Shinsaibashi
Morning, Umeda. The station area has several large department stores and electronics stores within walking distance. As in Tokyo, concentrate purchases in one store at a time.
Afternoon, Shinsaibashi and Namba. The covered Shinsaibashi-suji arcade is lined with drugstores, fashion and character goods. Many shops show the Tax-Free logo at the entrance. Kitchen-knife shops in the Namba area are popular too; remember that knives must go in checked luggage, which you can only check in after the customs kiosk.
Leaving from Kansai Airport. Kansai is one of the seven airports where Visit Japan Web can be used for the tax-free procedure. Allow extra time on the last morning, especially if you are taking a train from Kyoto.
If you have shopped tax-free in Japan before: what to unlearn
Repeat visitors are the most likely to trip up, because the old habits feel natural. For purchases from November 1, 2026, forget these:
- “The discount happens at the till.” Under the refund system it doesn’t. Budget for paying the full price first.
- “Keep the sealed bag closed.” The sealed bag goes, but the rule that goods must not be used in Japan stays.
- “Customs is something you pass after check-in.” The tax-free check happens before you check your bags.
- “I can stay up to six months.” The deadline becomes 90 days from each purchase.
- “Consumables and general goods have different minimums.” There is one category and one minimum: ¥5,000 before tax, per store, per day.
- “I can post things home tax-free.” Self-shipping ended in March 2025.
Everything else that made Japan a pleasure to shop in hasn’t changed: staff are patient, pricing is transparent, and big stores make the paperwork painless. You just collect the tax at the end of the trip instead of the beginning.
Useful Japanese phrases at the tax-free counter
Most tax-free counters at big stores have English signs and staff used to visitors. These phrases help at smaller shops:
| English | Japanese | Romaji |
|---|---|---|
| Can I buy this tax-free? | 免税できますか? | Menzei dekimasu ka? |
| Here is my passport. | パスポートです。 | Pasupōto desu. |
| How will the refund be paid? | 返金はどうなりますか? | Henkin wa dō narimasu ka? |
| Can the refund go to my credit card? | クレジットカードに返金できますか? | Kurejitto kādo ni henkin dekimasu ka? |
| Is there a fee? | 手数料はかかりますか? | Tesūryō wa kakarimasu ka? |
| Can I combine these receipts? | レシートをまとめられますか? | Reshīto o matomeraremasu ka? |
| Where is the tax-free counter? | 免税カウンターはどこですか? | Menzei kauntā wa doko desu ka? |
| A receipt, please. | レシートをください。 | Reshīto o kudasai. |
For pronunciation, our own iPhone app Hirameki Japanese reads phrases aloud with furigana and romaji, and its conversation mode can translate a back-and-forth with shop staff. More travel phrases are in our essential Japanese phrases guide.
Your tax-free checklist, day by day
Before you fly to Japan
- Check your passport is valid for your whole stay.
- Pack a foldable bag for tax-free goods and a plastic sleeve for receipts.
- Set up Visit Japan Web if you plan to use it, and sort out mobile data.
- Bring a credit card that works internationally; many refunds go back to a card.
Every time you shop tax-free
- Carry your passport.
- Spend at least ¥5,000 before tax in that one store that day.
- Ask how the refund is paid and whether a fee applies.
- Keep receipts with the goods, unopened.
The night before you leave
- Put every tax-free item and its receipt in your carry bag.
- Check nothing from a tax-free receipt has been used, eaten or given away.
- If you are forwarding luggage, make sure tax-free goods are not in it, or plan to collect it before the kiosk.
At the airport
- Arrive about 30 minutes earlier than you otherwise would.
- Go to the customs tax-free kiosk before check-in. Green means done; red means customs inspection.
- Repack, check in, and fly.
After you get home
- Watch for the refund by the method you chose.
- Keep receipts and payment records until the money arrives.
Frequently asked questions
When does Japan’s tax-free system change? The refund system applies to purchases made from November 1, 2026. Purchases made up to October 31, 2026 are handled under the old on-the-spot system.
Do I still pay less at the shop? No. Under the new system you pay the full price including consumption tax, and the tax is refunded after customs confirms the goods at your departure.
What is the minimum purchase for tax-free? ¥5,000 excluding tax, at one store on one day.
Do I still need the sealed bag for cosmetics and snacks? No. Sealed packaging has been abolished, but items used or eaten in Japan are not eligible for a refund.
Where is the customs check? At customs tax-free kiosks in the departure area, before security and before you check your bags. At Narita, Haneda, Kansai, Chubu, Fukuoka, New Chitose and Naha you can also use Visit Japan Web.
What happens if the kiosk shows red? Take your goods and receipts to the customs officers for an inspection.
How long do I have to leave Japan? Within 90 days of the purchase date, counting from the day after you buy.
How long does the refund take? It depends on the shop and the refund method. There is no single official deadline, so ask at the counter when you buy.
Can I post my tax-free purchases home? Not yourself. The separate-shipment option ended on March 31, 2025. Some shops ship overseas directly; ask the shop how tax works in that case.
Is tax-free shopping worth it? For large purchases, yes: the refund is up to 10% of the pre-tax price (8% for most food), minus any fee. For small purchases, weigh the time at the counter and the need to carry goods unopened to the airport.
Plan the rest of your trip
- Cash vs. card in Japan
- Narita and Haneda airport access
- Luggage forwarding in Japan
- Japan packing list
Sources: Japan Tourism Agency tax-free shopping pages for travelers, National Tax Agency guidance on the tax-free system, and Japan National Tourism Organization notices (checked October 15, 2026). Rules can change; if you spot something out of date, please let us know.
Going to Japan? Speak Japanese with confidence.
Hirameki Japanese — camera translate for menus and signs, a two-way conversation mode, and furigana + romaji on every phrase. Free to download with kana charts, conversation mode and starter words; a one-time purchase unlocks everything.

Plan your Japan trip
Two things every first-timer should book
Some links are affiliate links. If you book through them we may earn a small commission at no extra cost to you.